Client portal lives in Settings under Clients, beside Branding. It decides which details and features appear in every enquiry and booking's portal. There are no per-client settings.
Open client portal settings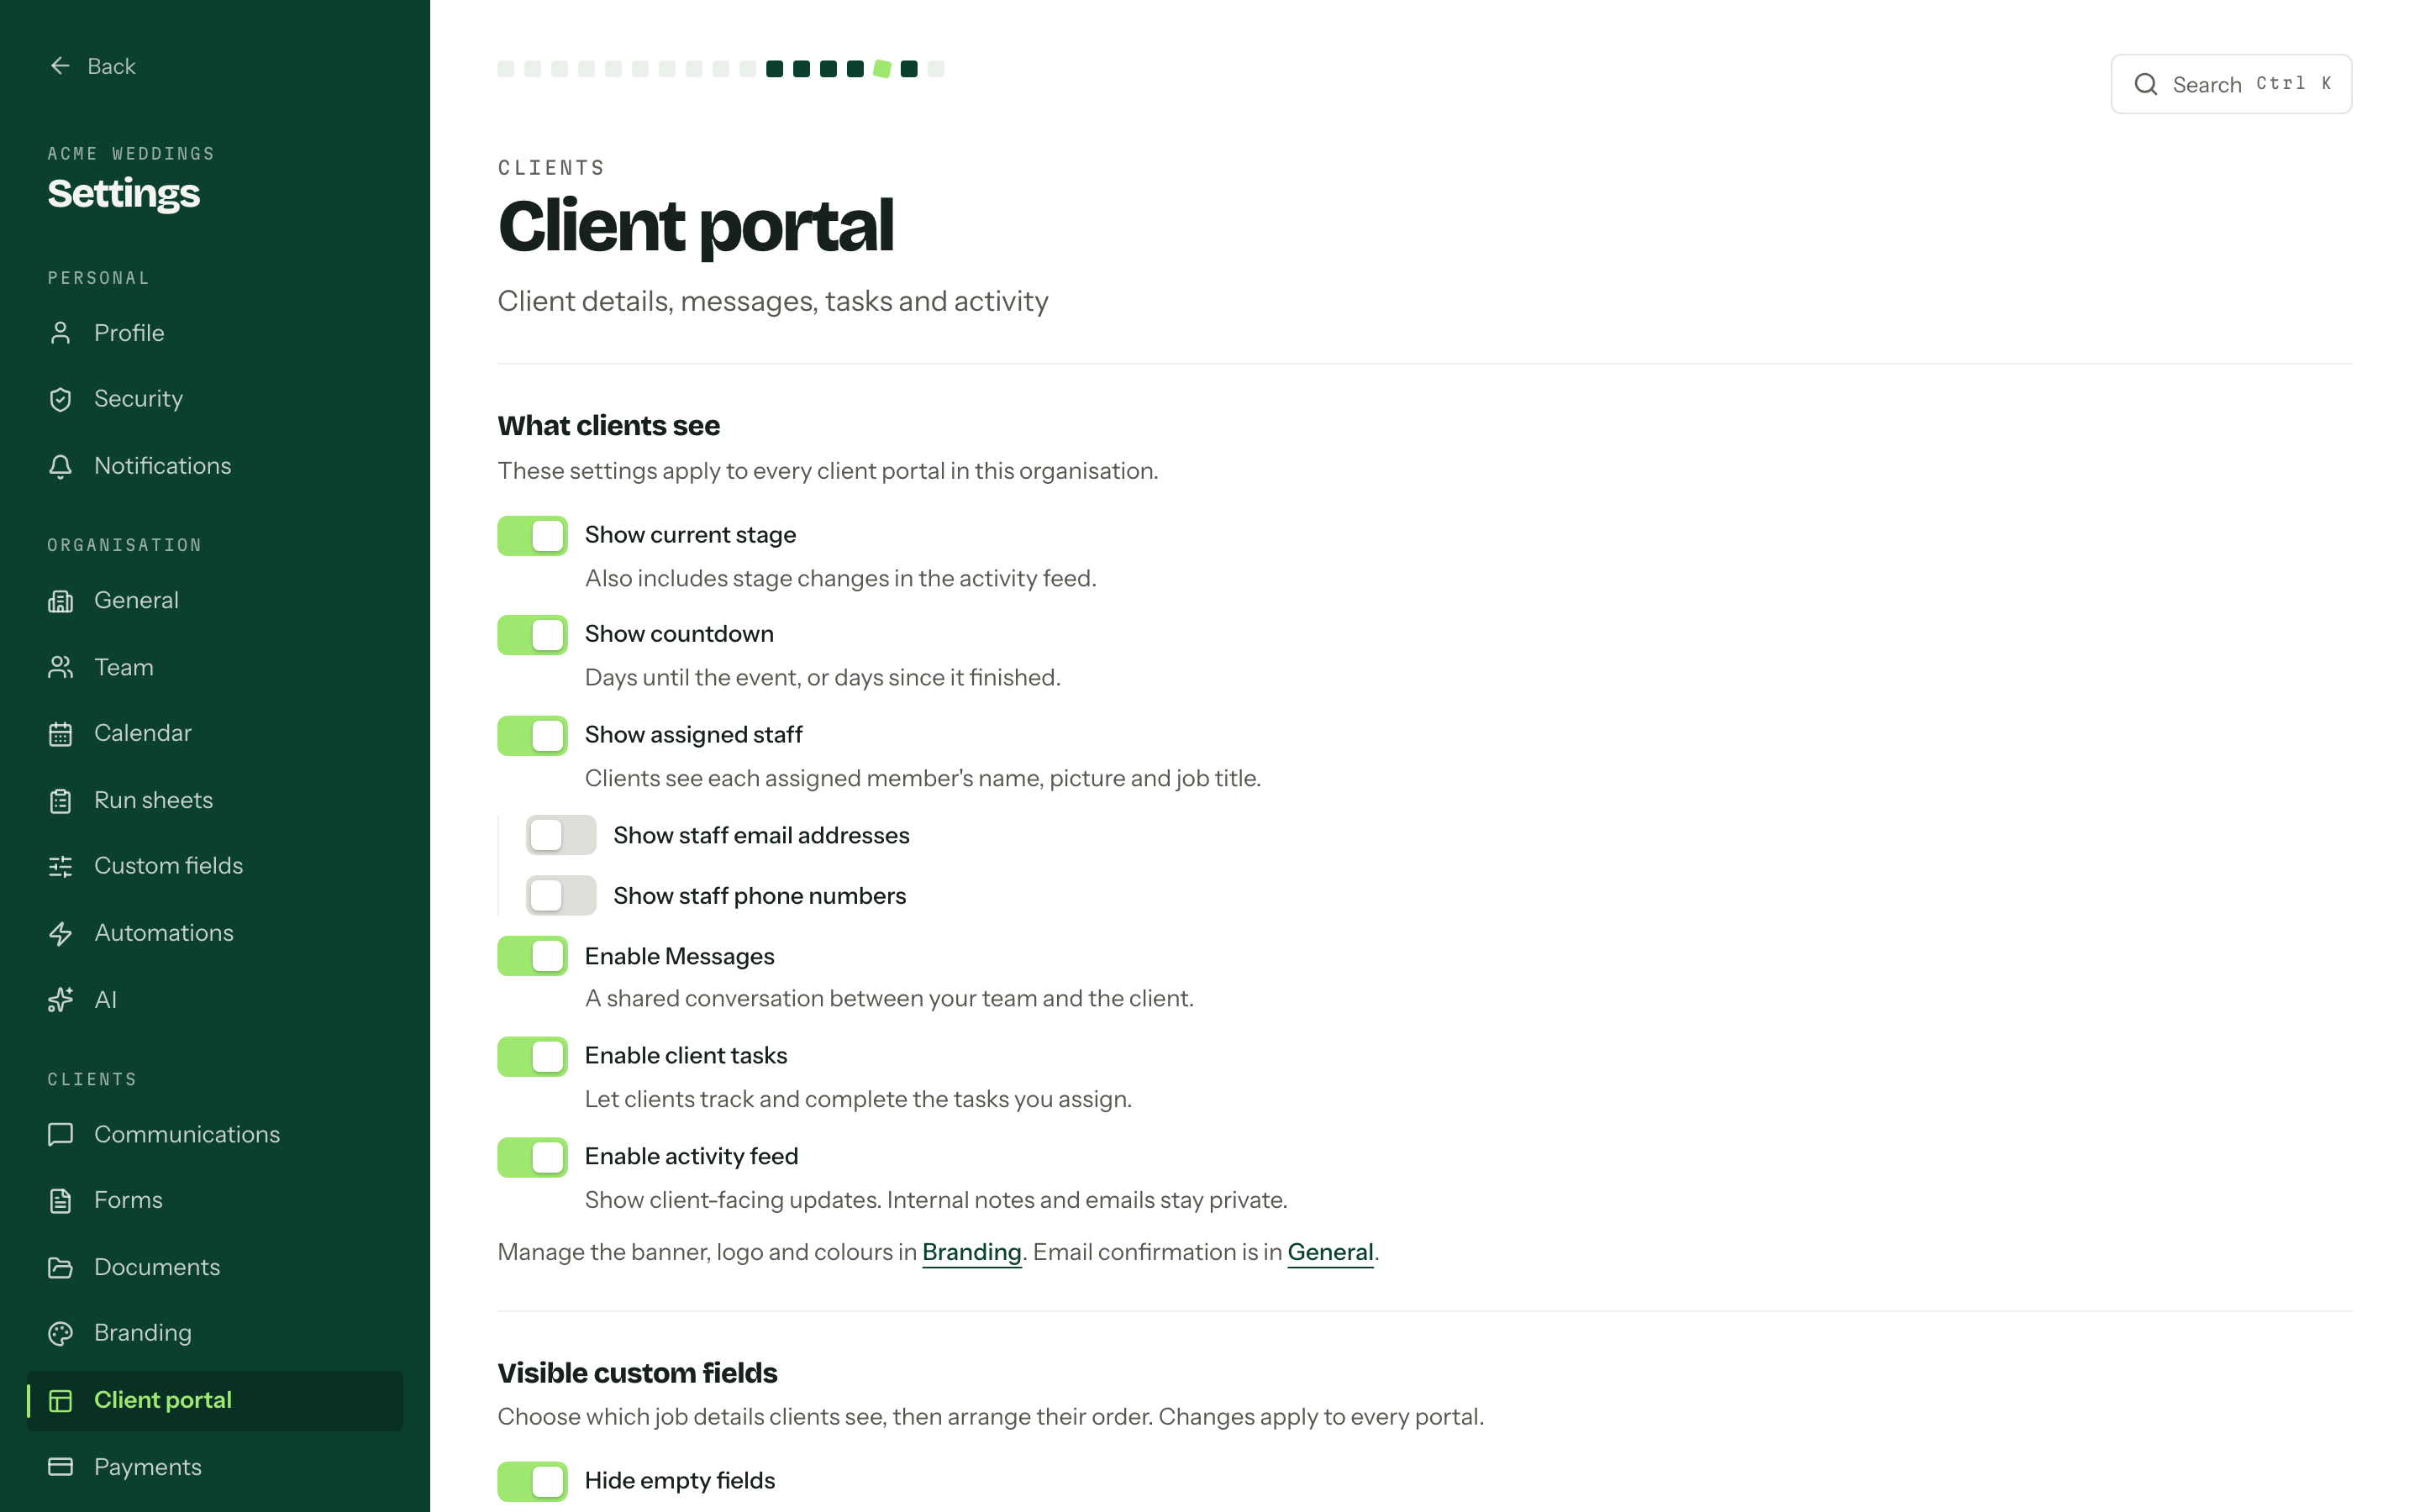
Home details
- Show current stage shows the job's stage name on Home. It also allows stage changes into the client activity feed. It starts off.
- Show countdown shows the number of days until the event, Today on the date, or days since it passed. It starts on.
- Show assigned staff shows each assignee's picture, name and job title. It starts on, and a job with no assignees has no team section.
- Show staff email addresses and Show staff phone numbers are separate choices and both start off.
Job titles and phone numbers come from Team or the member's own Profile.
Custom fields
Tick the job custom fields clients can see, then use the up and down controls to arrange their order on Home. Press Save to apply the choices. No fields are visible until you choose them. A date field made visible also contributes its future date to Up next.
Hide empty fields starts on. Turn it off to keep the label visible even when a job has no value for that field. A venue or location can be shared through a custom field; it is not a separate portal setting.
Create and edit the available fields in Custom fields.
Features
Let clients edit contacts starts off. Clients can always edit the contacts they added through the portal. Turning it on lets them update the details of every contact on their job, including the primary contact and anyone your team added. It does not change who they can remove.
Enable Messages, Enable client tasks and Enable activity feed start on. Turning one off hides it from the relevant portal and console screens. Saved messages, tasks and activity remain available when you turn it back on.
Messages gives each job one conversation with its client. Client tasks lets your team request work or files from the client. The activity feed shows client-facing updates and leaves internal notes and correspondence private. See Client portal and Messages.
Branding and access
The logo, banner, colours and font live in Branding. The email confirmation switch stays in General settings. When it is on, the email of any contact linked to the job can pass the gate, together with the private portal link.
Custom domain
The Custom domain section connects your own address to every client portal in the organisation. Studio and House include one active domain and one replacement you can prepare before switching. Solo does not include custom domains. See Plans and billing.
Use a domain you own and can edit the DNS records for. A subdomain such as clients.yourstudio.com.au lets your main website keep its current address. Connecting the root domain, such as yourstudio.com.au, points that address at Arbour instead of your website.
- 01
Enter the address in Domain, without
https://, a port or a path. Press Add domain. - 02
Open your DNS provider and add the records shown in Arbour. The TXT record under Prove you own this domain verifies ownership. The A record under Point the domain to Arbour sends visitors to the portal. Use Copy name and Copy value for the exact values.
- 03
Press Check DNS. Once ownership is verified, Arbour shows a CNAME record under Prepare and renew HTTPS. Add that record with your DNS provider too, then check again.
- 04
Wait for Ready to activate, then press Activate domain. Adding DNS records alone does not switch your portal address.
- 05
Open an enquiry or booking and copy its portal link. Open the link to check the portal on your new address before sharing it with clients.
DNS updates can take up to 48 hours, and preparing HTTPS takes additional time. Arbour checks in the background; Check DNS requests another check. Verify ownership within seven days or the unverified setup is removed automatically. Verified setups do not expire under this rule.
Keep the ownership TXT record, certificate CNAME and traffic record in place while the domain is connected. Arbour manages HTTPS and certificate renewal for you.
If setup is waiting
- Check the record names as well as the values. Some DNS providers add your domain to a name automatically, so entering the full name can add it twice.
- At the address you are connecting, remove conflicting A or CNAME records and any AAAA records. Turn off DNS proxying. Leave records for your other website addresses and email alone.
- If your domain uses CAA records to restrict certificate issuers, allow
pki.googso Arbour can prepare HTTPS. - Read the warning below the domain, correct the records it identifies, then press Check DNS. If activation asks for another check, wait for that check to finish before trying again.
- If the address is already connected or awaiting removal, wait for disconnection to finish before adding it again. If you own the domain but cannot find its setup, contact support@usearbour.com.
- If Arbour says custom domain setup is unavailable, contact support. Your existing Arbour links keep working.
What changes for clients
Once the domain is active, portal links copied from Arbour and links in newly sent portal emails use it. Existing Arbour links still work. Enquiry forms and website embeds keep their existing Arbour address.
Clients still need the full private link for their enquiry or booking. Opening the domain alone shows a page asking them to use that link. Email confirmation, link rotation and revocation work as before.
Replace or disconnect a domain
To change addresses, enter a Replacement domain and press Prepare replacement. Follow the same DNS steps while your current domain keeps working. When the replacement is ready, press Switch to this domain and confirm. Only one replacement can be in progress; disconnect an unwanted pending setup before adding another.
Share fresh links after switching
The previous custom domain stops opening portals as soon as you switch. Links using it do not redirect to the replacement. Copy and share the current portal links with affected clients. Existing Arbour links keep working.
Disconnect domain asks for confirmation. Disconnecting the active domain stops client access through that address immediately, and newly generated links use your Arbour address. Disconnecting a pending replacement leaves the current address in place. Disconnecting means Arbour is still removing its HTTPS setup; the address cannot be added again until that finishes. Remove the DNS records you added for that disconnected domain when you no longer need them.
Plan changes
Disconnect every pending, ready and active custom domain across the account before moving to Solo. If the account is already on Solo, saved domains show Paused on Solo. Upgrade to Studio to restore them, or disconnect them. Existing Arbour links continue working.
A payment failure or read-only hold on Studio or House does not stop existing custom portal access or HTTPS renewal. Adding, checking and activating domains requires a writable account. You can still disconnect a domain with Manage organisation settings permission.
Who can change this
Editing these settings needs Manage organisation settings. The same choices apply to existing and new jobs.